Atari Mega STE battery replacement
2 minutes
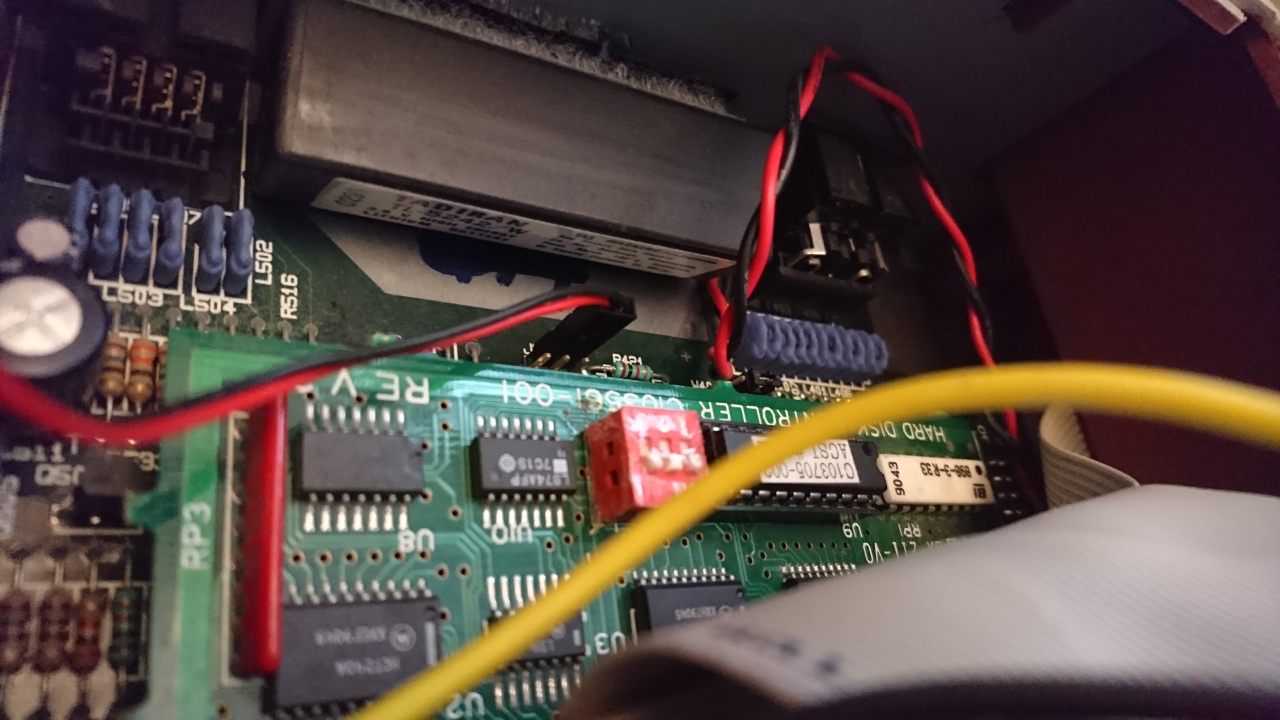
The Atari Mega STE might be the best machine of the 16 bit era. It’s very compatible with the regular ST(E) range, but in addition it can be run at a higher clock speed (16MHz, with cache) as well as a very nice case where it’s easy to access things like memory, the built in SCSI hard drive etc. Most of the Mega STEs came with 1.44 HD floppy support as well (mine didn’t, something I’m rectifying right now). I recently acquired a Mega STE, mostly to make sure that any code I write in the future is compatible (our latest demo {Closure} apparenly isn’t). Besides adding HD floppy support, I’m also upgrading all the little things that makes for quite some difference in using these old retro machines. Silent PSU fan, TOS 2.06, FPU … and oh, making sure the RTC, Real Time Clock, actually works. Atari used a battery quite common for its time in the Mega STE, a Tadiran TL-5242/W, 3.6V Lithium. It’s fastened with velcro (!) to the backplane, easily reachable after having removed the hard drive case, and connected to the motherboard via a four pin connector.
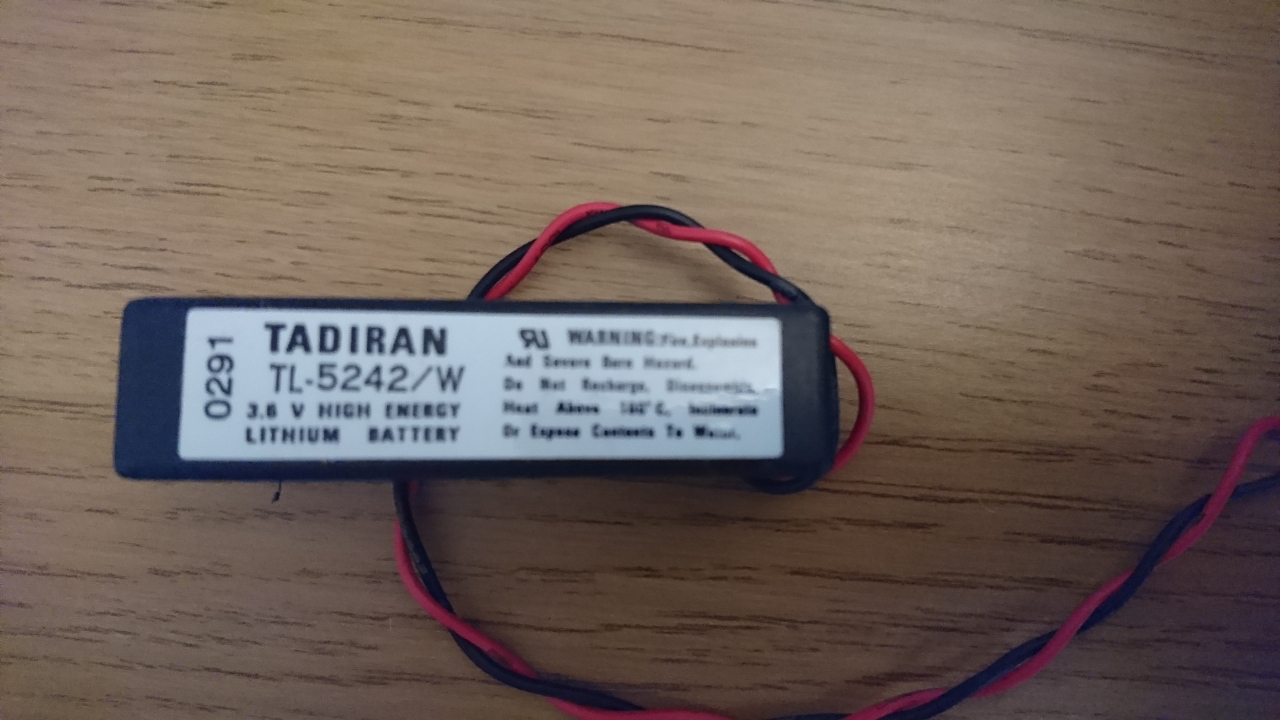
It’s also quite depleted after 25 years. You can still buy the part, a brief online check centered around a $100-$200 expense, mostly due to high shipping costs (if you’re in the US you can buy it here for $13. Shipping cost to Sweden $111). I’ve thus seen various solutions offered online on how to either skip it completely, using other RTC solutions, or connect various 2,3 or even 4xAA battery packs. I like my retro upgrades as clean as possible, so I instead found and installed what I consider to be the closest match to what was there originally. A 3.6V Lithium battery in a single AA-holder. Total cost, including shipping of the parts, around $10.
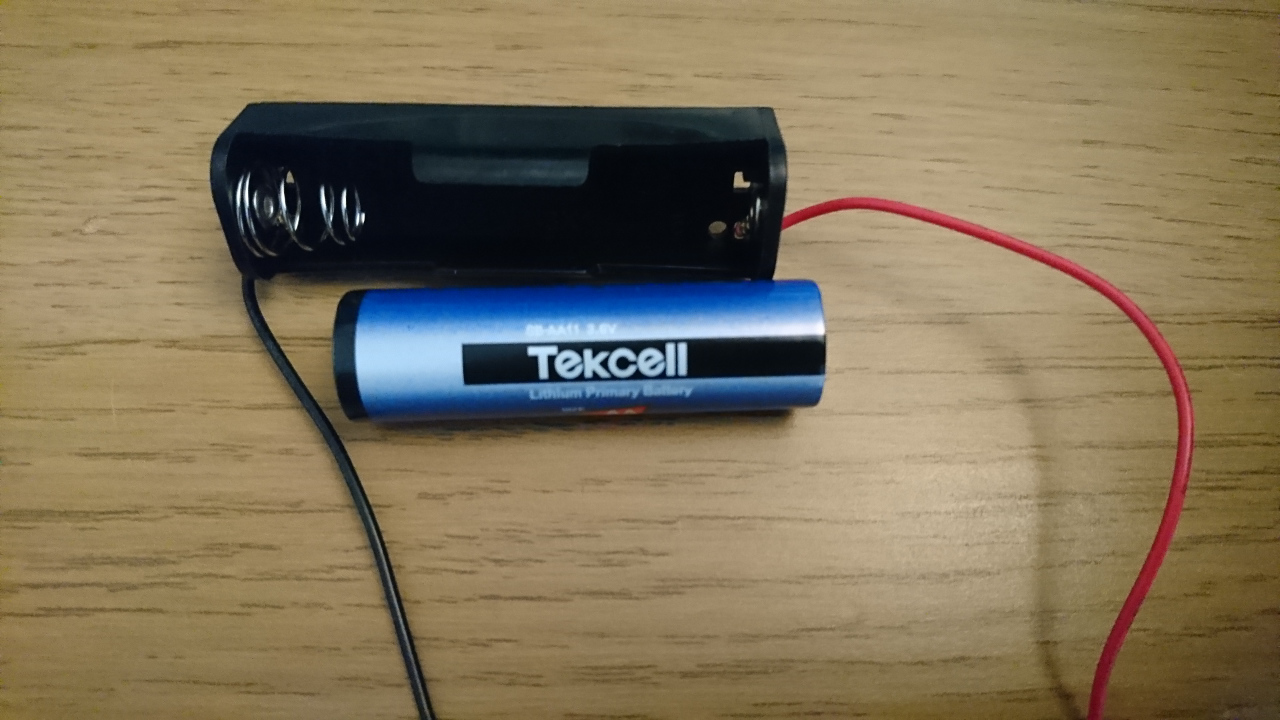
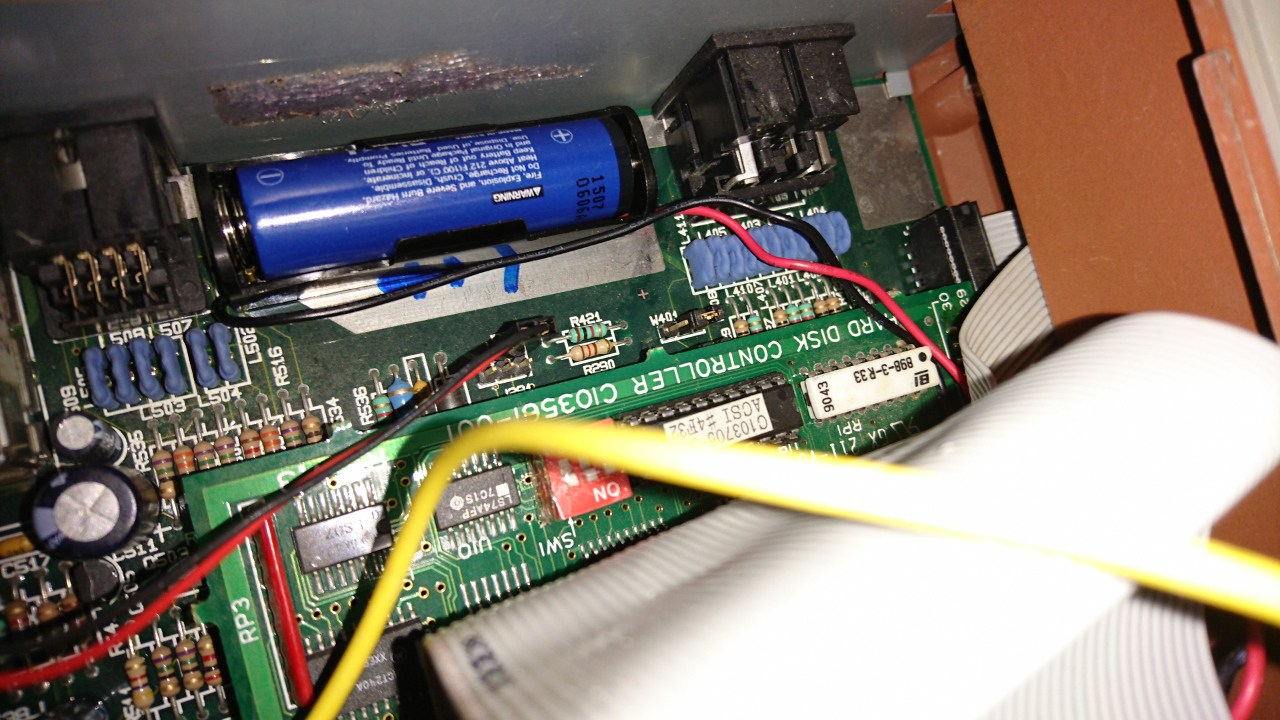
I cut the original cable and re-used the connector, and I’m right now pondering whether to use velcro, double sided tape or hot glue to fasten the battery holder. There’s plenty of space to even lay it flat on the motherboard.
Enjoy.